Organize assets by location
Build the physical hierarchy where assets live — buildings, floors, rooms, desks, and warehouses — and use the Local (Location) filter on the Items list to find what's in each place.
Build the hierarchy
- 1
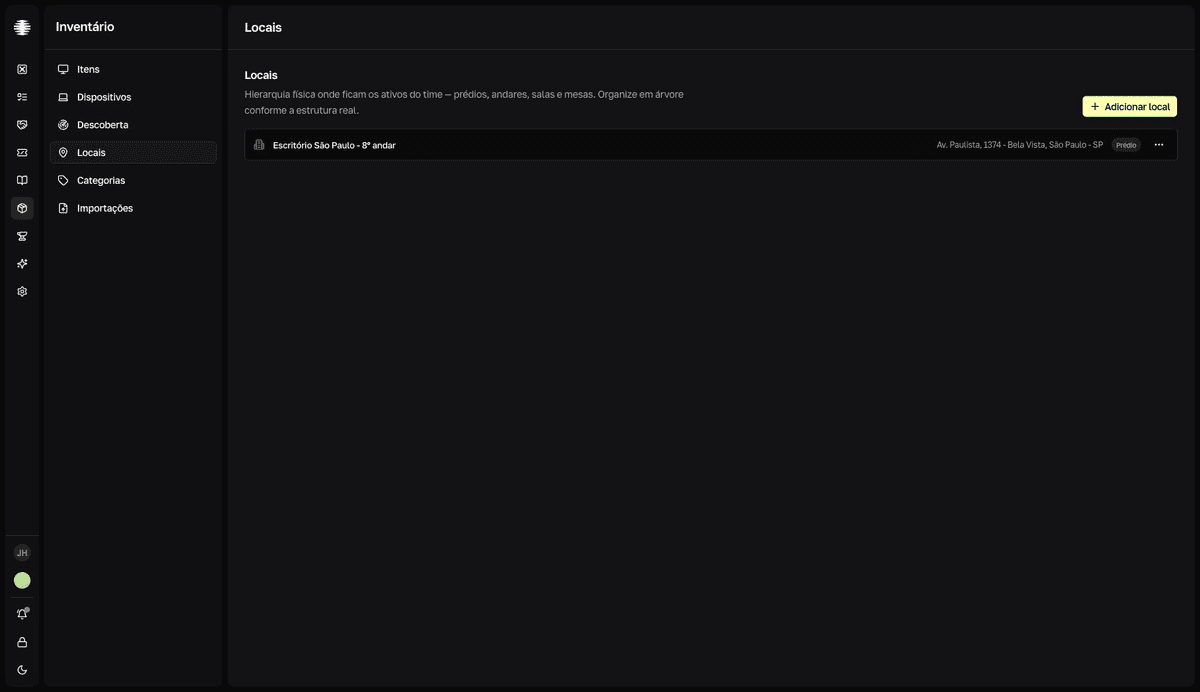
Open `Locations` in the Inventory sidebar and click `Adicionar local` (Add location).
Start at the top: a
Prédio(Building) or anArmazém(Warehouse). - 2
Choose the `Tipo` (Type) and the `Local pai` (Parent location).
Types follow the real structure:
Andar(Floor) requires aPrédio(Building) as its parent,Sala(Room) requires anAndar(Floor),Mesa(Desk) requires aSala(Room) — theLocal pai(Parent location) field only offers compatible parents. TheEndereço(Address) field appears only forPrédioandArmazém. - 3
Click `Criar local` (Create location).
resultToast "Localização criada com sucesso" (Location created successfully). - 4
Create the next levels with `Adicionar filho` (Add child), in the location's `⋯` menu.
The menu also has
Editar(Edit) andExcluir(Delete).
Deleting a location affects its children
The deletion warns: "Esta ação não pode ser desfeita. Todos os locais filhos também serão afetados." (this action can't be undone; all child locations are affected too). Review the subtree before deleting a building or a floor.
Find locations and assets
- The Locations list shows only the top level — floors, rooms, and desks you created don't appear on it. Find them through the command palette search or in the location selectors on forms.
- A location's detail doesn't list the assets in it. To see a location's assets, use the
Local(Location) filter on theItemslist.